A few months ago Lance finally agreed to set the deadline to be finished by Tilly's party (June 25) and we set to work in April. Man oh man was this a project. The wood was stained so instead of sanding like we should've, we used some heavy duty primer and then a coat of white paint over, which some areas needed 2 coats of white. I've never painted more in my entire life. Then we set off to order all new doors and had them custom fit length, and also the door knobs cut out. We didn't get the hinge grooves pre-cut because we wanted to make sure they matched the old ones exact. And good thing we didn't... When you live in an older house things settle, so that means ordering doors to the exact length of the old ones doesn't mean they will necessarily fit. I think of the 13 doors we ordered, 4 of them actually went in the first try. Poor Lance was ready to kill me very early on in this project. Not only did he cut out each hinge down all the doors, but also had to trim and put on (and take off) each door about 5 times until they fit correct. Whew. We finally finished early June and it looks AMAZING! The house is so much brighter and I am so in love!! A huge thank you to my mom as well for watching Tilly so much during this project.
Now for some before and after pictures. Yes, they are all from my cell phone because I am too lazy to whip out my nice camera, but you get the idea! I also didn't take the before pics until we started taking the doors down and everything was a mess. Oops.
BEFORE~

Down the hallway

Entry way

Kitchen door

This is how SO many looked on the bottom. Frayed and pealing off!

Bedroom closets

Into the front guest room

Lining up each old door with the new to line the hinges up EXACT

This handy tool was a lifesaver as I scooted along the carpet and had to shove it down to get the wood good and covered!
AFTER~
We also updated the front bathroom cabinet with a gray paint, but the light over the mirror is so bright I couldn't get the best picture. It really looks quite a bit lighter in person. I also forgot to take any before pictures, but the trim was all wood and the cabinet was an old orangey wood color.


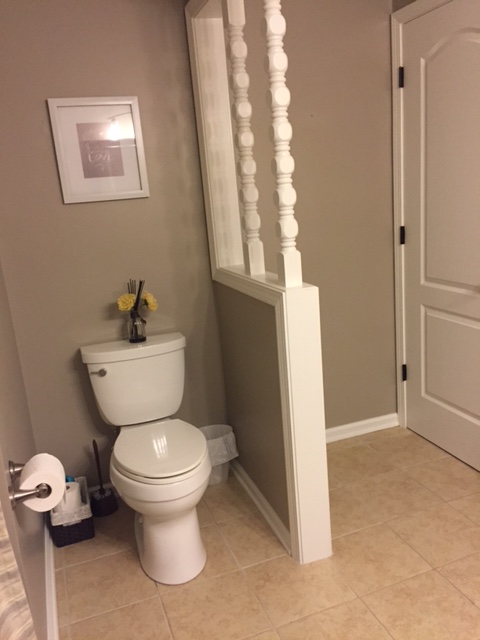

Also, the living room and hall had NO baseboards for some reason so all of that was added along the way as well. That along with all new vent covers.


We decided to leave the crown molding around the living room and hall wood for now. We left the front door and living room doors wood, along with the beams. Lance thought the white molding would clash with that, and since I was SO over painting, I said to leave it wood for now and it would probably grow on me! We also left the windows and window trim wood. We have very nice, fairy new windows, and I was not spending another year trying to paint every little detail of those real wood windows and trim. It actually matches better than I thought and keeps some character in the house.

A look inside the living room.
The gate I blogged about before Lance built around the fireplace is a lifesaver! We used the fireplace so much in the winter and had zero worries about Tilly getting burnt. The whole black piece gets so hot, we sit a pot of water on top to boil to help with the dry air. The gate leaves enough room to open the doors and everything. Good job hubby!
And last here is a peak inside our kitchen. I have no idea if we'll ever update the cabinets one day or not. They are completely flat, so I definitely do not want to paint them unless we add some texture to the front. This would be another HUGE project, so for now the kitchen is staying exactly how it is! ha I don't hate the wood, but I also don't love it. We'll see how we feel in a few years! :)

Walking in from the living room.. Tilly's table in the corner :)

And the view looking in from the dining room/front den
I didn't share any details of the dining room, den, or bedrooms, just because I am sure we'll be changing things along the way. Eventually I'll share some more updates on the other rooms. Mainly it'll just be painting and some new furniture.
Now.. time for a break!


